In-situ annealing & machining restores US Naval vessel main engine to service
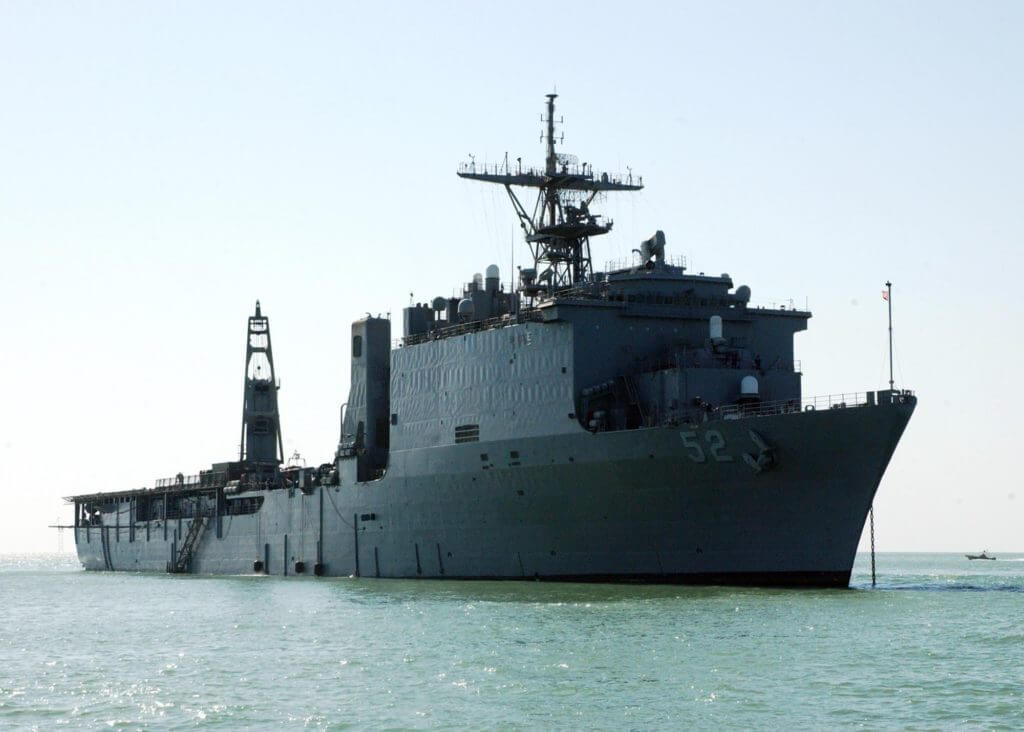
USS Pearl Harbor (LSD-52) Colt Pielstick PC2.5 V16 bearing failure
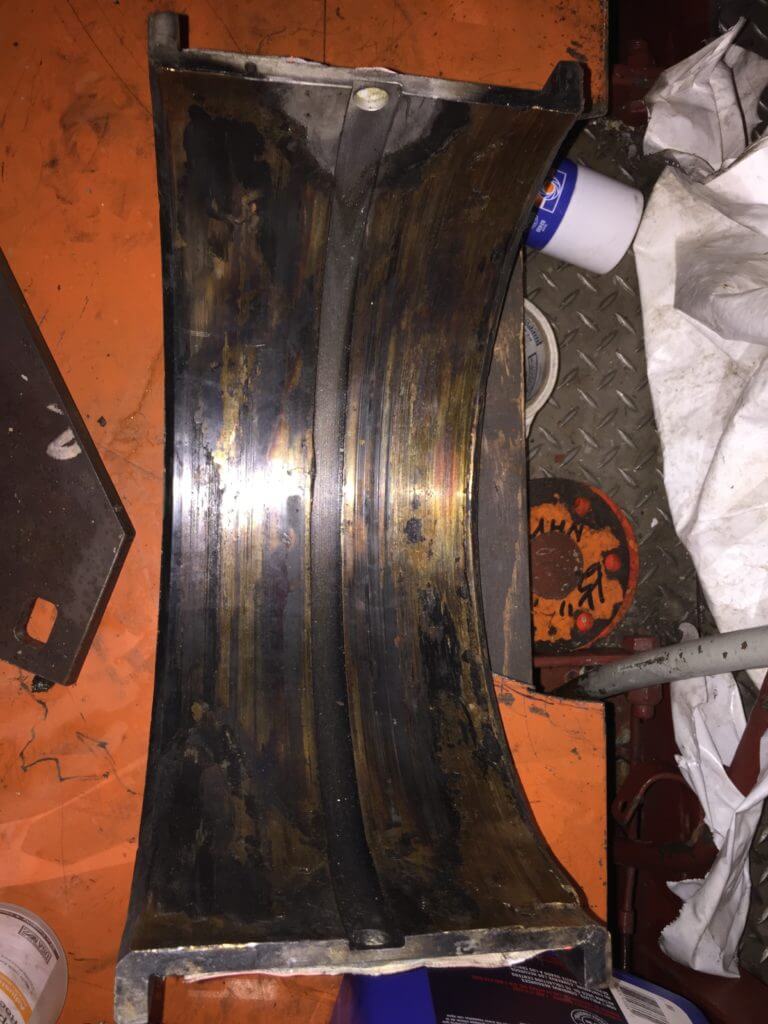
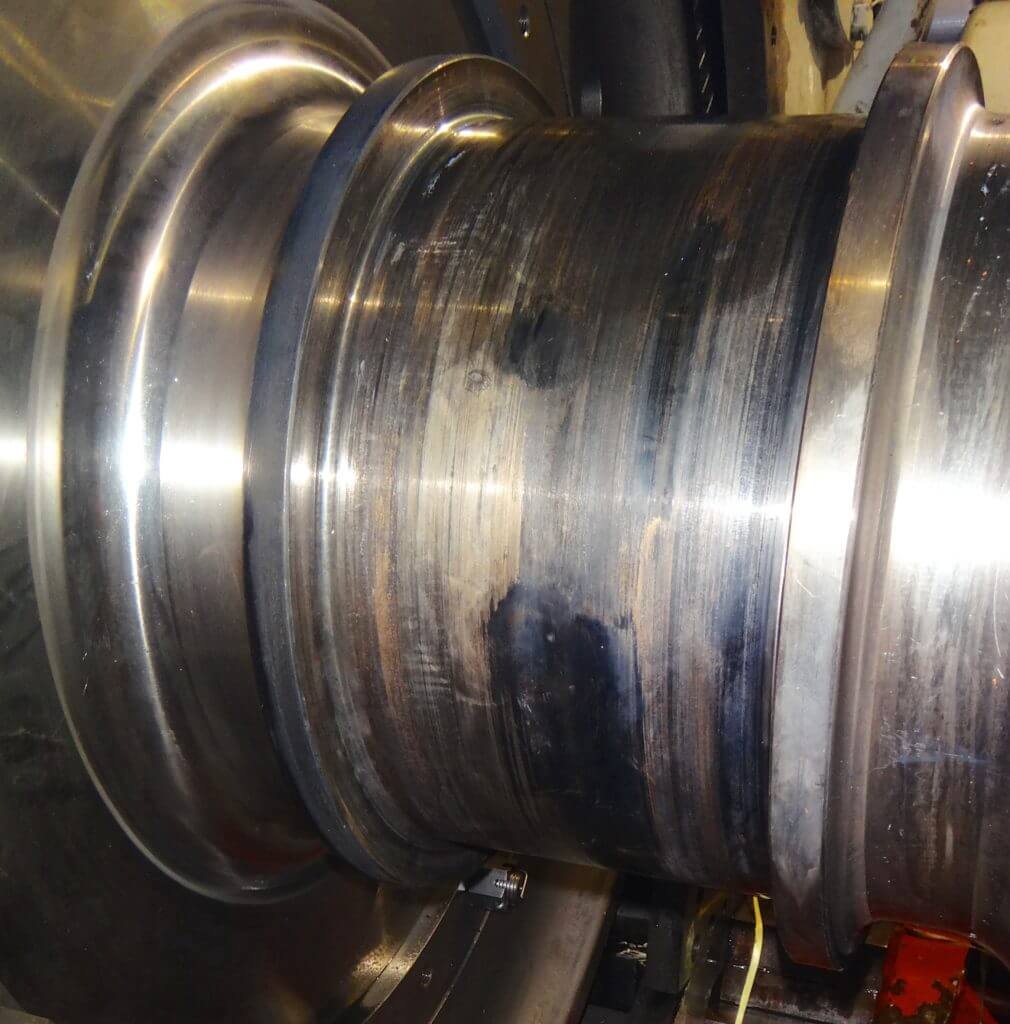
A US Navy amphibious vessel, the USS Pearl Harbor (LSD- 52) experienced a bearing failure on main journal 0 on one of its four 16 cylinder Colt Pielstick PC 2.5 main engines. The failure was significant in that it introduced excessive hardness in the main journal and adjacent thrust faces.
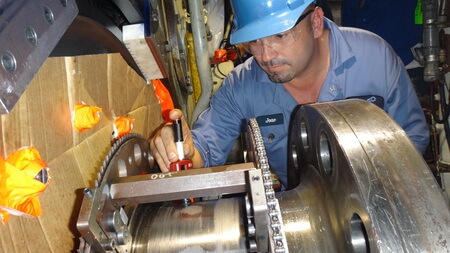
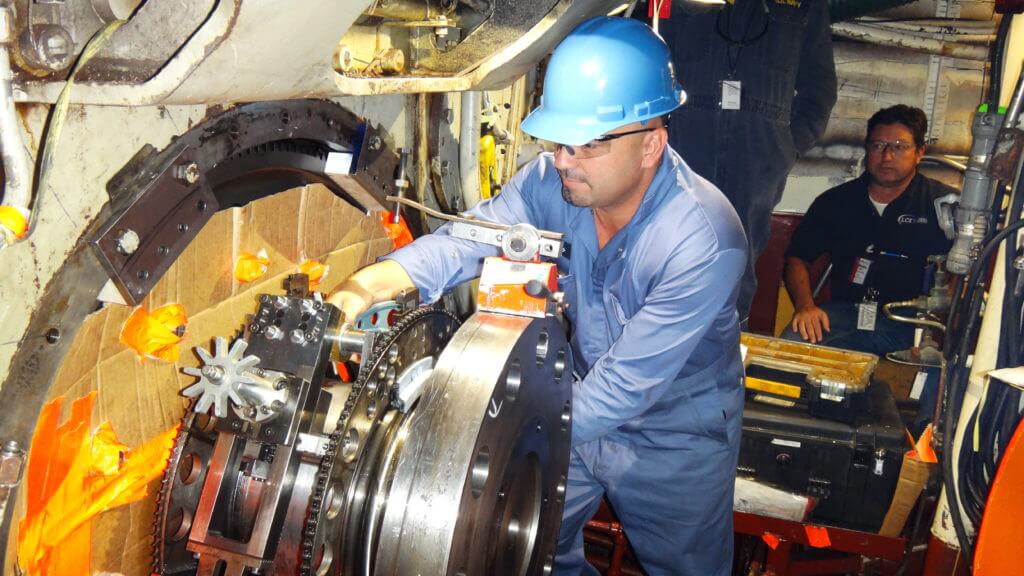
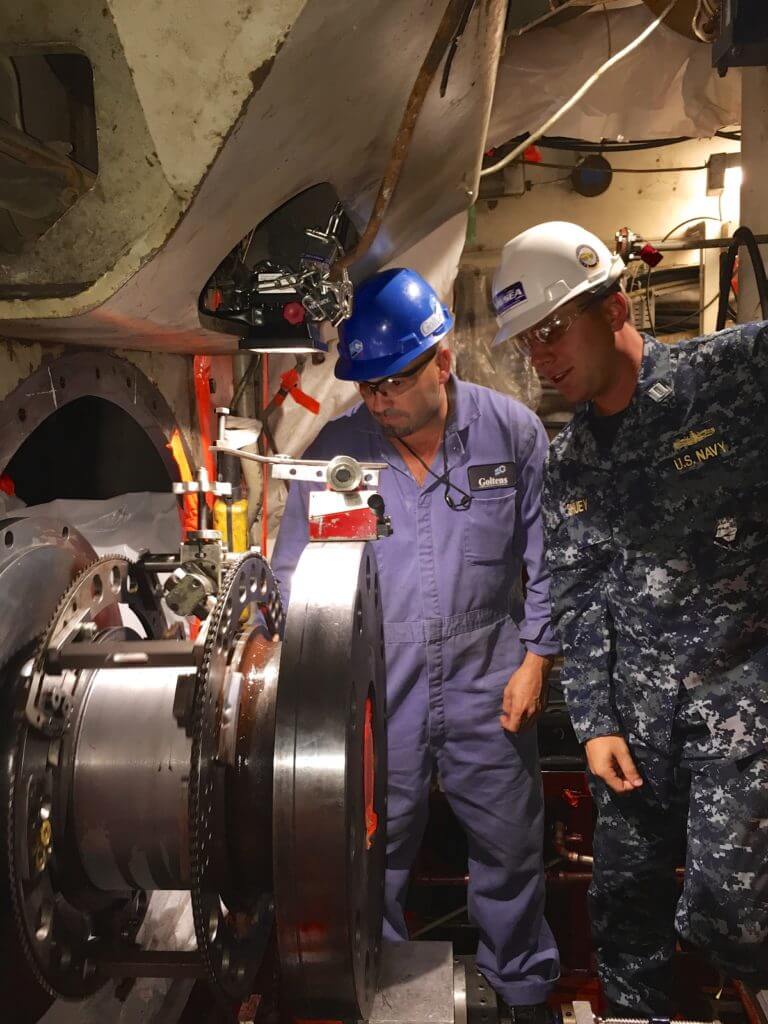
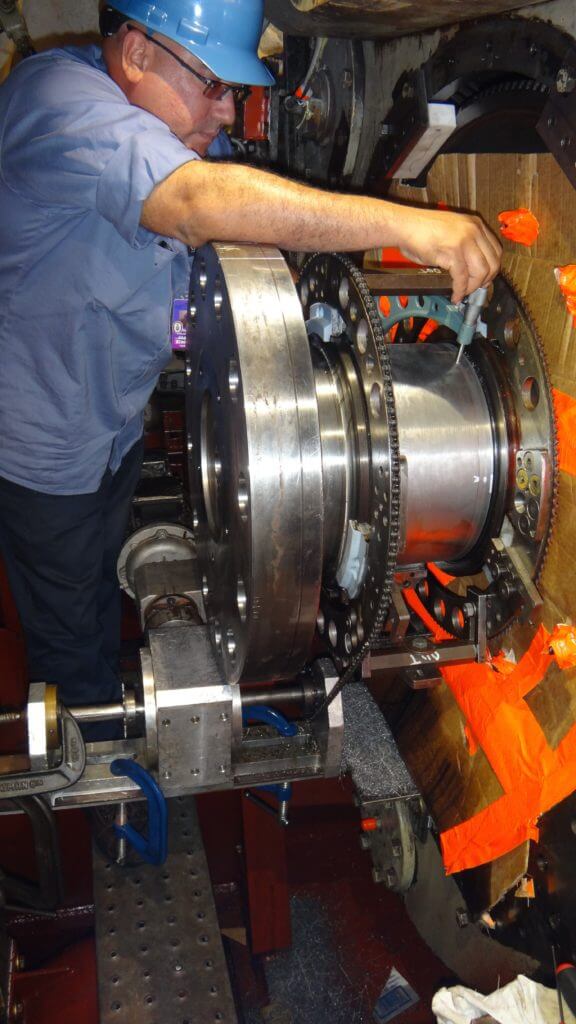
Goltens was engaged by the engine manufacturer to complete an inspection of the damage and propose a possible in-place machining repair for the bearing. Inspection revealed run out measurements were normal but confirmned that the surface of the journal had cracks and excessive hardness. Goltens mobilized tools and technicians to begin machining of the crankshaft and remove the surface cracks.
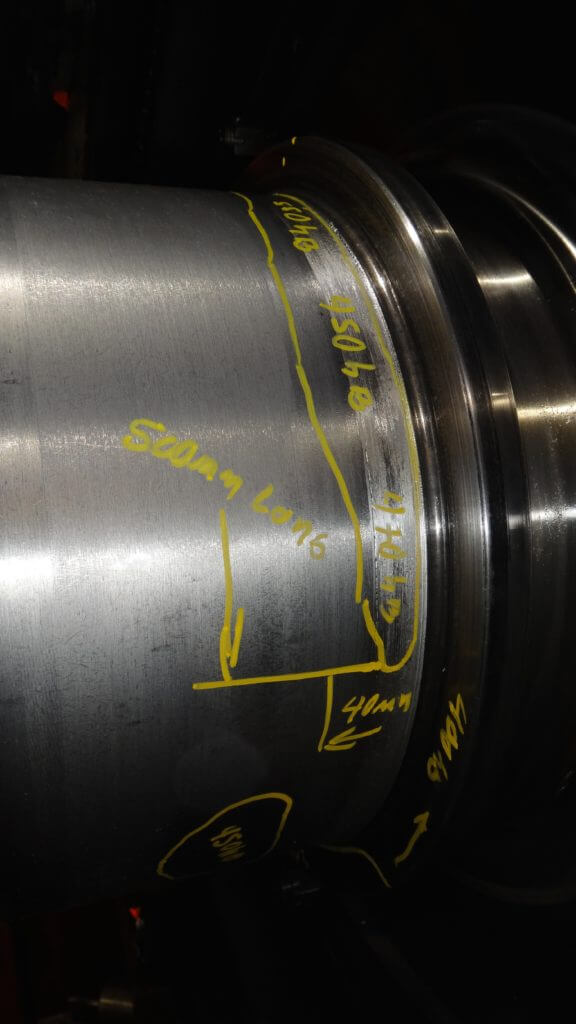
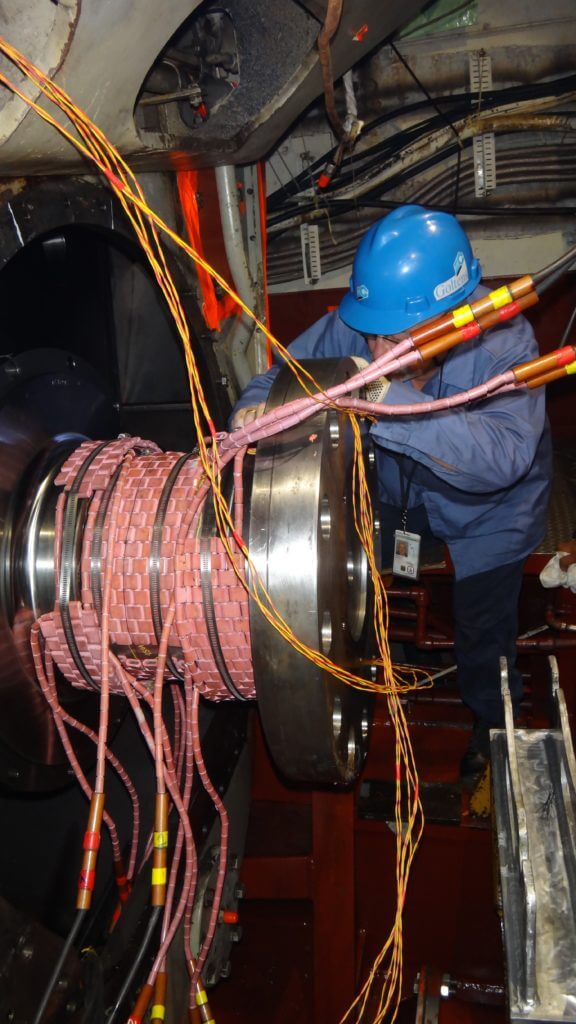
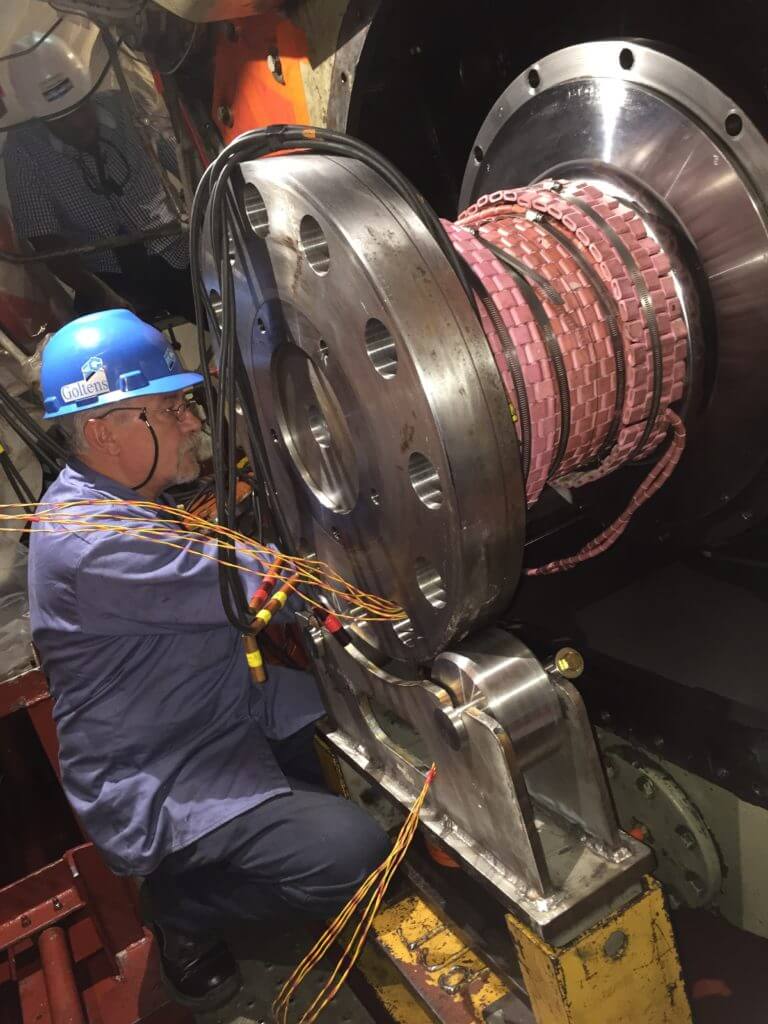
At -2.00mm the surface was determined to be clear of cracks but excessive hardness remained in large areas on the shaft. Goltens proposed utilizing its class approved annealing process to restore the crankshaft within manufacturer’s limits. Once the procedure was reviewed and approved by the manufacturer, Goltens mobilized its annealing equipment to complete the repair.
PROJECT FACTS
| COLT PIELSTICK PC 2.5V16 | |
|---|---|
| Location: | San Diego, CA USA |
| Max Hardness Pre-Annealing: | 580HB |
| Max Hardness Post-Annealing: | 333HB |
| Original Main Journal Diameter: | 330.00mm |
| Finished Diameter: | 327.00mm (-3.00mm) |
| Thrust Face Machining: | -1.00mm (fore/aft) |
COLT PIELSTICK 2.5 V16 ANNEALING AND MACHINING WORK PERFORMED
- Completed magnaflux, hardness and run out checks showing surface cracks and hardness up to 580HB.
- Machined main journal to -2.00 to remove surface cracks.
- Performed hardness testing and determined excessive hardness still present and recommended annealing to salvage the shaft within its rated diameter.
- Performed annealing on the main journal and adjacent thrust faces and reduced hardness to acceptable levels across the journal and thrust faces.
- Verified surface free of cracks and hardness levels acceptable post annealing.
- Machined main journal to final diameter of -3.00mm.
- Machined thrust faces to their first undersize of -1.00mm per side.
- Machine polished main journal to a finish of 0.21Ra.
IN-SITU ANNEALING RESULTS
The main journal was finished at a final diameter of -3.00mm and both thrust faces were machined to -1.00mm (the first undersize).
Inspection by the engine maker confirmed that all measurements were within required tolerances and the repair was approved.
The application of Goltens’ in-situ annealing procedure and in-situ crankshaft machining services enabled the crankshaft to be repaired in place with a minimum amount of material loss to the shaft and a minimal amount of downtime for the machinery.
Download a PDF of this Resource
(Right click and select "Save File As..." or "Save Link As..." to save)
Download Now