X-Y vertical milling and line boring
350 Tonne A-frame Crane for Saigon Shipyard
Over a period of three months, Goltens completed an extensive X-Y milling and line-boring project in Ho Chi Minh City, Vietnam for Saigon Shipyard (SSY). Goltens was contacted to support SSY in the construction of a 350 tonne A Frame crane.
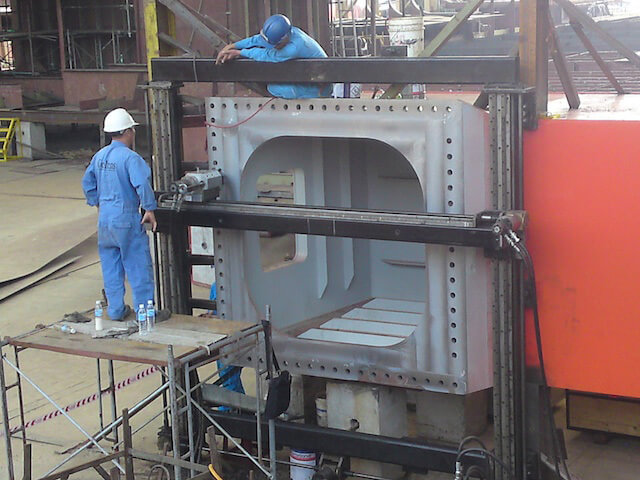
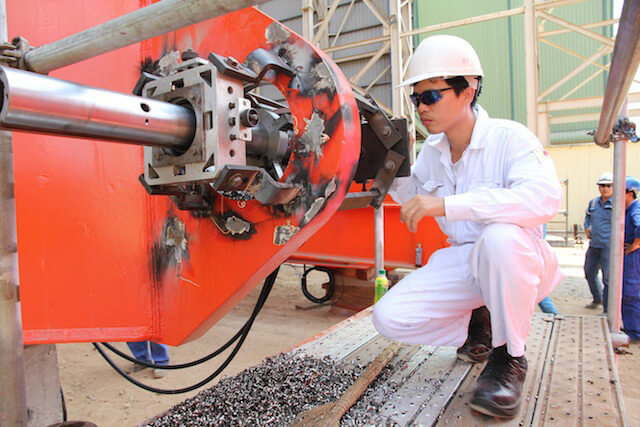
Goltens was contacted to support SSY in the construction of a 350 tonne A Frame crane. The workscope included the vertical milling of the leg and cross beam flanges and line boring the jointing holes. This involved 7 cross beam flanges, the largest being 5.6m long x 1.6m wide and over 41 bores ranging in size from 195mm to 340mm. Goltens deployed its line boring and X/Y Milling equipment and specialists to the shipyard and began work.
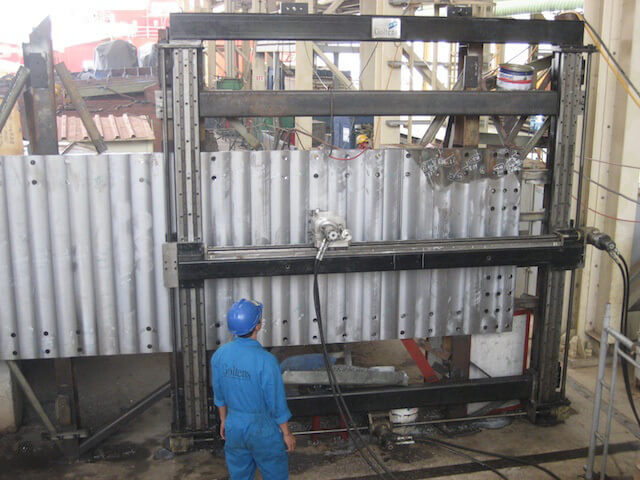
To ensure the bores were all in perfect alignment and the flanges were perfectly flat, Goltens used the latest in laser alignment and flatness-checking equipment. On the largest of the flanges, Goltens’ 3m x 3m X/Y milling equipment had to be repositioned several times. The results were crosschecked by the customer’s quality control department and by the classification society and all surfaces passed without fail.
PROJECT FACTS
| 350 Tonne Capacity A-Frame | |
|---|---|
| Vertical Flanges machined | 5.6M x1.6Mx 2 pcs 2.3M x 2.3 M x 4 pcs 1.8 M x 1.6M x 1pc |
| Material removed from flanges: | 7- 10 mm |
| Line boring hole Diameter: | 195mm – 340mm |
| Number of holes bored: | 41 |
| Material removed from holes: | 12-20mm of bore |
X-Y MILLING REPAIRS
- Laser flatness checking & vertical milling of 2 A-frame Deck bracket bed plates: W1.6M x L 5.65M x 30 tonnes
- Laser flatness checking & vertical milling of 4 Port & Starboard side A-frame Legs and Cross beam flanges: W2.3M x L 2.3M x 30 tonnes
- Laser flatness checking & vertical Milling of the A-frame cross beam top flange: W 1.6M x L 1.87M x 25 tonnes
- In-situ line boring for 41 A-frame jointing holes with diameters ranging from 195 mm to 340mm.
- Assisted the shipyard in reassembling the A frame to confirm machined items were satisfactory.
X-Y MILLING RESULTS
The satisfied customer commented that the complex job was completed on time and that final results were excellent and extremely accurate.
Download a PDF of this Resource
(Right click and select "Save File As..." or "Save Link As..." to save)
Download Now

